Before following any of the information in this guide, make sure that you have reviewed the owner’s manual for your TIG welder for setup, installation, and safety procedures. This guide should be used for general information and awareness more than instructive “how-to” content because every TIG welder, shop, and environment has variables that no one but you can account for.
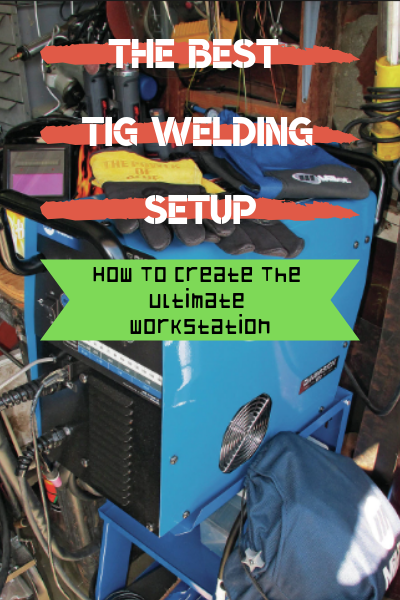
When you’re trying to create the best TIG set up in your shop, knowing how to connect your equipment properly will ensure that your work is of the highest quality.
A good TIG setup consists of several standard elements which usually come in the box with purchase. You’ll need a power source, a coolant system, a gas valve, shielding gas, a regulator, a remote control, and work clamps and cables.
Additional lines for the gas and coolant, along with the necessary power cords, are required as well.
Before connecting anything, even if you’ve purchased the best TIG welder for your needs, make sure that everything that was supposed to be in the box is there. Layout each item to verify it has been received. If you are missing any items, contact the manufacturer immediately.
7 Basic Elements of the Best TIG Setup
For many TIG welders, the first step is to connect the torch. When you’re using an air-cooled torch, there should be an adapter included in the box. Plug the torch into the front of your machine.
Then connect your gas outline, your coolant in line, and the coolant line outline. With some models, you may be required to plug the torch directly into the gas valve.
Once you’ve plugged in your torch, you’re ready to follow the other 6 steps of the setup process.
1. Connect Your Remote Control
You’ll need to plug in the foot pedal that came with your TIG welder. Some models come with a fingertip control instead. Once you have the remote control connected, make sure it is placed in a position which you will find to be comfortable while working. It is helpful to hold the torch over a make-believe work project to see where a natural position for the remote control may be.
2. Connect the Work Clamp
When you’re TIG welding, you will need to have a ground clamp connected to your equipment. Make sure that you have enough room to place the clamp on your work table or at the other end of your project, depending on what it is that you’re working on.
3. Select the Correct Polarity
This part of the setup process is based on the metal type you plan to work on most often. If you’re planning to weld aluminum with your TIG welder, then set the front panel to AC. For steel alloy or common steel welding, the DC setting is best. Some welders may come with a stick option as well. You may find two DC options available: DCEN and DCEP. Stick welding requires the DCEP setting.
4. Prepare Your Tungsten Element
Most tungsten elements must be shaped before they can be properly used for welding. You’ll need to grind yours to a point. Always grinds in the long direction, making your point about 2.5 times the diameter of the element. A grinding wheel of 200-grit or finer will help you achieve a higher quality weld too. The point should be flat, not sharp, and the grinding wheel should not be used for any other projects.
Pro Tip: As you weld aluminum, you’ll see balling occur at the tip of the tungsten over time. When the ball grows large enough to be the same diameter as the element, you’ll need to give the tungsten a new point.
5. Get Your Torch Assembled
Find the back cap on your torch and loosen it. Remove the standard tungsten that is there (if you see one). Then remove the nozzle and the copper collet. Put the collet and its body back into the torch, then tighten it up. You can then place the nozzle back onto your torch. This allows you to place the tungsten you’ve formed into the collet, making sure to leave at least 1/8-inch, but no more than ¼-inch, sticking out from it. It should not be more than the cup diameter.) Then tighten the back cap.
6. Check Your Power and Gas
At this stage, you should be ready to connect your TIG welder to your power supply. Make sure that the power supply you are using matches the manufacturer’s rating for the equipment. Some welders are supplied with a plug, so you can simply plug it into the proper receptacle when you’re ready to start welding. If you must use a 240v receptacle, you may be required to purchase a matching plug.
Then make sure your canister of shielding gas is at the ready, connecting to a regulator (or flowmeter), which is properly connecting to the gas valve. You may also require a separate power cord for your coolant system if it is a separate piece of equipment with your setup.[1]
If your TIG welder did not come with a plug, you must connect it to a power source based on the information provided to you within the owner’s manual.
Pro Tip: When using a 240v plug, you must consider the age of your home when selecting the correct plug to use. Receptacle placement is also an issue. If you have a 240v receptacle that accepts straight prongs (as for a range or oven), this is often suitable for a TIG welder. Slanted prongs in the receptacle indicate a dryer outlet, which may not work with your equipment. If you have a 4-prong outlet, this is also usually for a dryer and it may work depending on the plug that you use. If you do not have a direct match, consult with a local electrician about what you can and cannot do with your current electrical setup.
When you have the right TIG welder setup, you can maximize your production.
Follow your owner’s manual, reference this guide, and hopefully, you’ll create an excellent setup for your welder.