
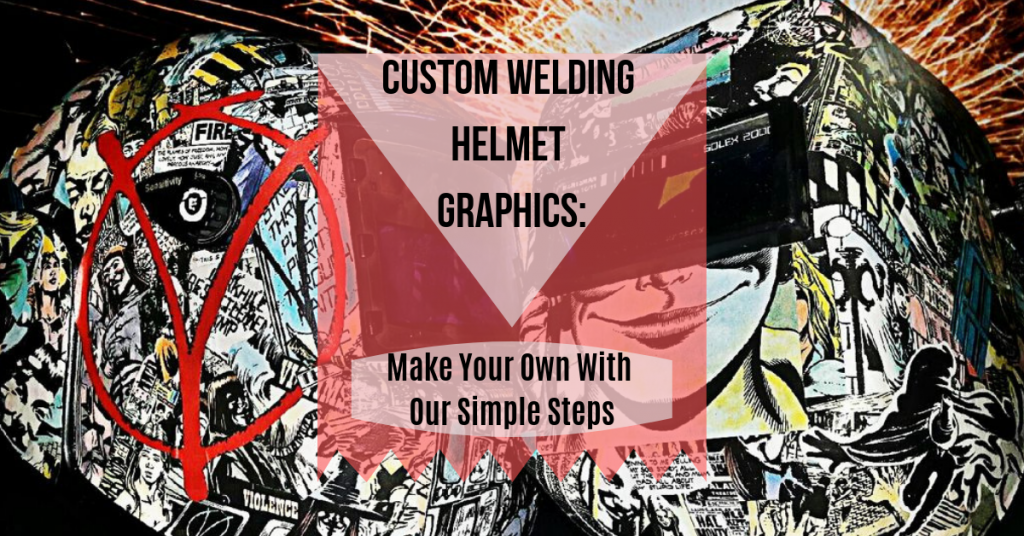
If your welding helmet looks like it just came out of a 2-hour senior level university lecture, then it might be time to eliminate its boring aesthetic.
You could purchase a helmet with fantastic graphics to spice up your welding, of course, but that choice comes with a cost that might set you back several hundred dollars.
Besides… you already have a welding helmet. Do you really need to have another one?
Try this option instead: create your own custom helmet graphics. Here’s what you’re going to need.
· Vinyl sticker printer, cutter, or someone who can print custom vinyl stickers for you.
· A big roll of masking tape.
· Tweezers.
· Utility Knife.
· Scissors.
· Paper towels.
· Clear acrylic spray.
· Plastic card (for pressure scraping)
· Rubbing alcohol.
· Cutting mat.
You’ll want to make your custom helmet graphics in an area that is well-ventilated. Some breathing protection would be a good thing to have.
Then follow these steps.
Step #1: Design Your Stickers
You can print your own or have someone print them for you. It helps to have a vinyl sticker cutter because you’ll save a ton of time. For those who are computer savvy, you can design stickers through Adobe Photoshop or a similar graphics program. There are professional sticker designs you can download as well if you prefer.
Another option is to work with someone who specializes in football helmet decals. If you don’t have someone local, you might consider using a national-level company like Award Decals to print up your design.
Make sure to cover your stickers with masking tape before moving onto the next step. You’ll see why in a little bit.
Step #2: Prepare Your Surface
Clean your welding helmet with the rubbing alcohol. Your sticker isn’t going to work well unless you do this step.
Step #3: Place and Peel
Now figure out where you want your sticker to be. You may need to cut it into smaller pieces to help it fit on the helmet’s surface. Then peel off the backing of the sticker, picking out any pieces of vinyl that are loose with the tweezers, and place it on the helmet.
Step #4: Stick it on There!
Line up your sticker, then commit to the process. It helps to center the sticker, then move toward one end with your finger down the centerline to remove air bubbles. Then repeat going the other way. Your plastic card can then remove any lingering bubbles – and the masking tape will protect the sticker from the scraping process.
Step #5: Seal it Up
Having a sticker in place isn’t good enough on a welding helmet. It will need to be sealed to protect it from the heat. Make sure that you use a clear acrylic spray that can withstand the temperatures in your shop to make sure your work stays permanent.
With a little work, you can let your creativity shine through on your welding helmet for a fraction of the cost of buying something that is brand-new to you. If you already own a helmet and want to customize, this is one good option to think about.
Visit this page for recommendations on which model is best for you.


